Slippage
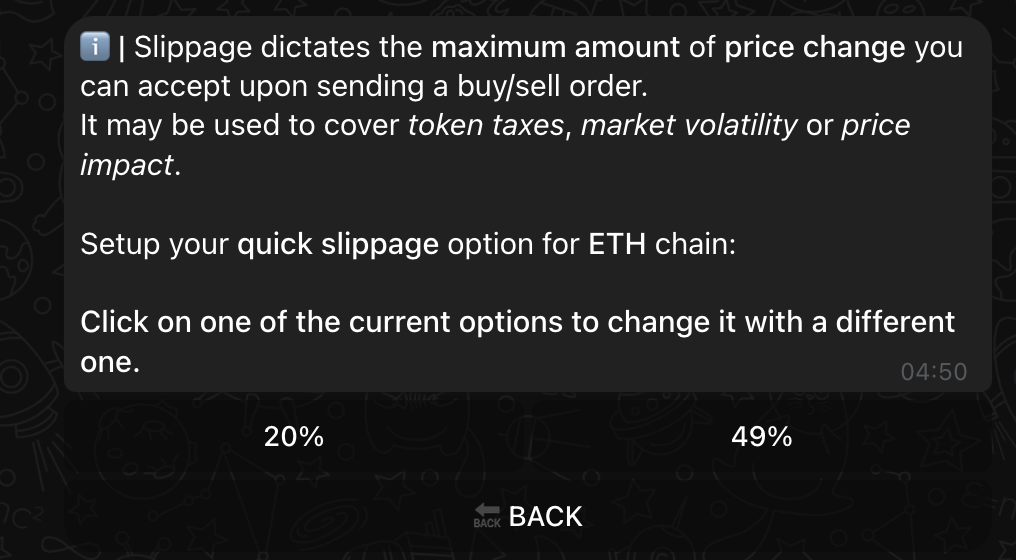
Ever wondered why some of your trades get "sandwiched" or fail? Let's master slippage with XSHOT to protect your trades and maximize success.
Understanding the Battlefield
What's Really Happening With Your Trades
When you submit a transaction, you enter a high-speed arena where MEV bots are waiting to profit from your trades:
graph TD
    A[Your Transaction] -->|Pending| B[Mempool]
    B -->|MEV Bot Sees It| C[Front-Running]
    C -->|Higher Gas| D[Bot's Buy]
    D -->|Price Impact| E[Your Buy]
    E -->|Price Drop| F[Bot's Sell]
Real World Example
Imagine buying a token at $1.00 with 20% slippage:
- Bot sees your pending transaction
- Buys before you, pushing price to $1.15
- Your transaction executes at higher price
- Bot sells immediately
- You're left holding at a loss
Your XSHOT Slippage Journey
Getting Started
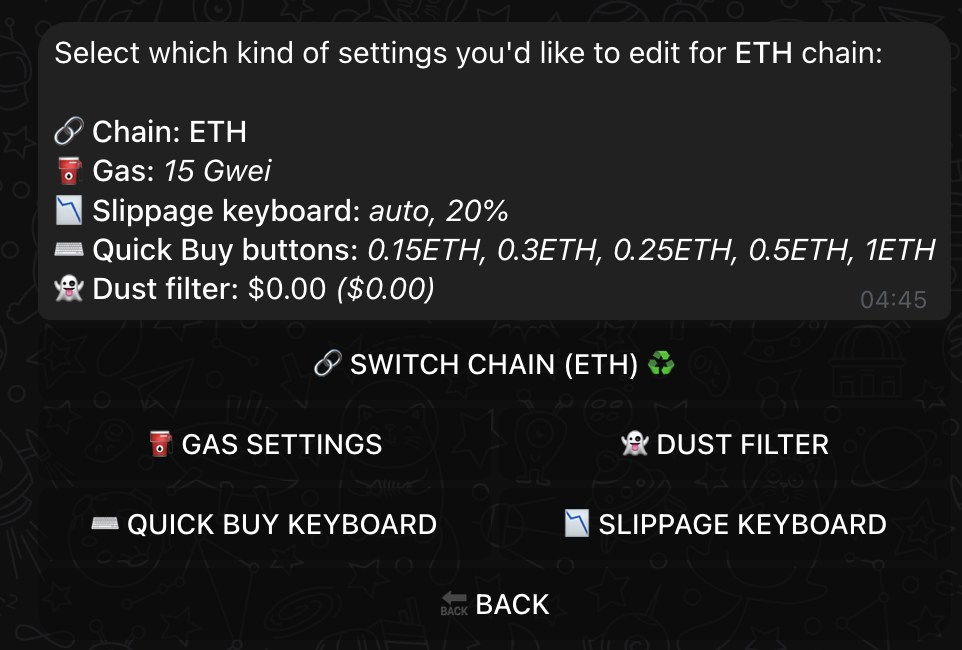
Go into the chain you want to adjust slippage from enter the chain settings menu and click on SLIPPAGE KEYBOARD

When you first set up XSHOT, your slippage settings are configured based on:
- Your trading style
- Risk tolerance
- Chain preferences
Setup Tip
Your initial settings from the setup questionnaire create a baseline, but you can optimize per chain.
Chain-Specific Configuration
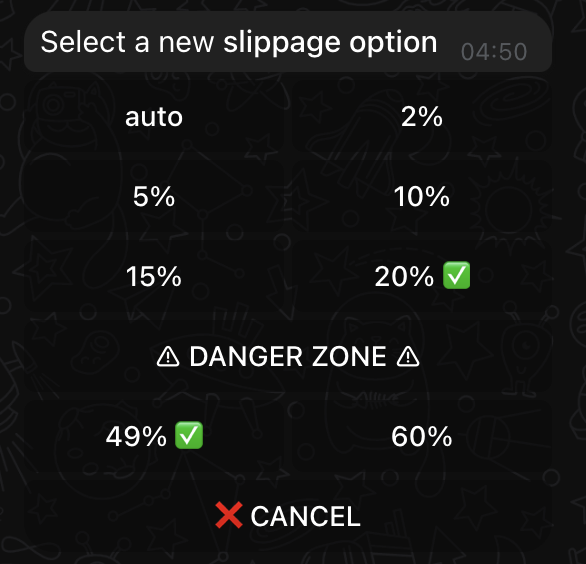
Each blockchain has its own slippage keyboard, you can configure a button with these values:
- 2-5%: Regular tokens
- 10-15%: Tax tokens
- 20%: High tax tokens
- 49-60%: High risk
- MEV vulnerable
- Emergency only
Configuring Your Protection
- Access chain settings
- Select "SLIPPAGE KEYBOARD"
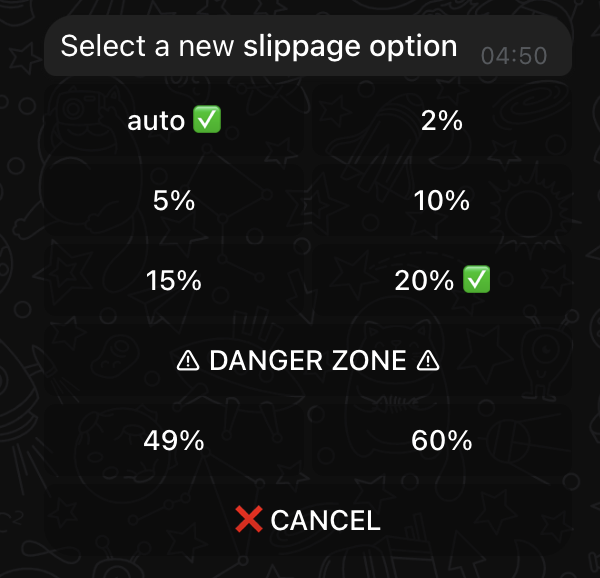
- Check that you either have auto (beginner)
- Or have a strict slippage set in the safe area (expert)
Customize the slippage based on:
- Token type
- Market conditions
- Trade size (your price impact)
Auto Slippage:
✓ MEV Protection
✓ Optimal execution
✓ Dynamic adjustment
Daily Trading Strategies
Token Types and Slippage
- Use auto slippage
- 2-5% range
- Monitor execution
- Check token contract
- Add 2-3% to tax amount
- Test small trades first
- Higher slippage needed
- Use limit orders when possible
- Monitor price impact
Smart Protection Features
XSHOT helps protect your trades:
- Auto slippage calculation
- Built-in MEV protection
- Chain-optimized settings
Advanced Strategies
Chain-Specific Approaches
Different chains need different strategies:
- Ethereum: Higher gas, lower slippage
- BSC: Watch for tax tokens
- Solana: Faster execution, different MEV landscape
- Base: Growing ecosystem considerations
Market Condition Adaptation
Market-Based Adjustments
- High volatility: Increase slippage slightly
- Low liquidity: Use limit orders
- New tokens: Extra caution with slippage
- Use XCALLER AI for smart execution
Large Trade Protection
For significant positions:
- Split into smaller trades
- Use limit orders
- Consider time of day
- Monitor pool liquidity
Best Practices
Daily Checklist
- ✓ Check token taxes
- ✓ Verify liquidity
- ✓ Review market conditions
- ✓ Set appropriate slippage
Red Flags
- Unusually high required slippage
- Sudden liquidity changes
- Forced high slippage settings
Need Help?
Trading safely is crucial. Get support:
📱 Support Channel 👥 Trading Community 📚 Common Issues
💫 Final Thought
Smart slippage management isn't just about successful trades - it's about protecting your capital in the DeFi jungle.